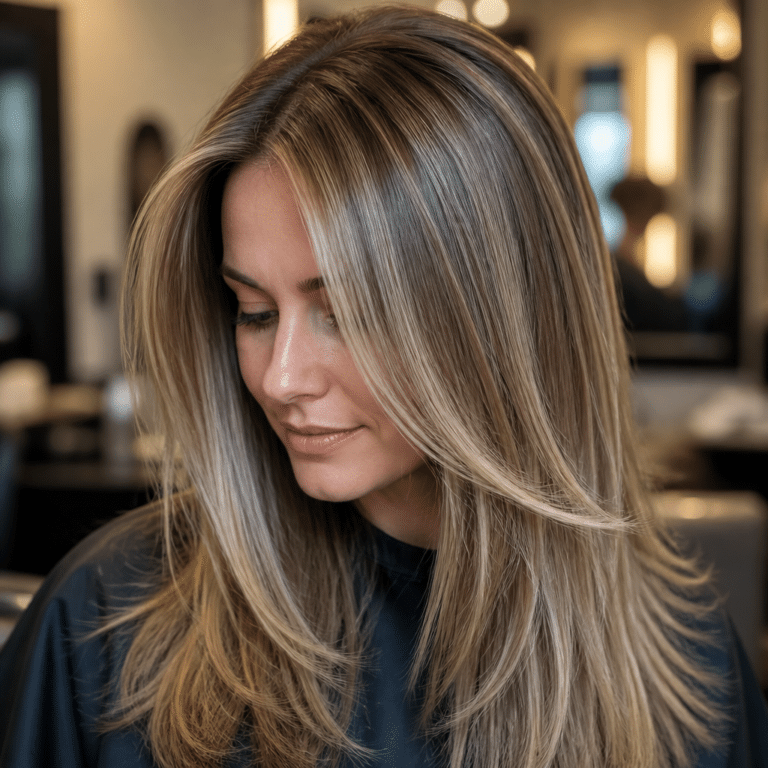
The money piece — that bright strip of color framing the face — is one of the most requested things in any salon right now. It’s also, of all the color services out there, the one that’s most reasonable to do at home with a friend, because it’s a small, visible, controlled section rather than a whole head.
I’ve spent my career behind the chair and running salons, and I’m not going to pretend a kitchen is a color station. But I’ve watched enough people attempt this with a cheap kit and a lot of optimism that I’d rather tell you how to do it properly. So here’s how I’d walk a friend through it.
Before you open anything
Three things, and none of them are optional.
Patch test. Follow the timing on the box — usually 48 hours before. Skin reactions to color products are real and they are not the thing to find out about mid-service.
Strand test. Take a small piece from underneath, where nobody will see it, and run the whole process on it. You’ll learn what your hair actually does and how long it takes. Hair that’s been colored before, box-dyed, or is naturally very dark does not behave the way the picture on the package does.
Be honest about the starting point. If you’re very dark and want something very light, or the hair has been through previous color, that’s a salon job. Not because I want your money — because getting from dark to bright is a multi-step process, and lightener sitting against the face is the least forgiving place to learn that lesson. A subtle brightening you can do at home. A dramatic platinum against dark brown, get it done properly.
What you need
Your coloring product mixed to the manufacturer’s directions, the brush that came with it, gloves, an old towel, a tail comb if you have one, and two small ColorShells. Small is the right size here — the money piece is a narrow section close to the face, and the shorter shell sits more comfortably against the head than a full-length one.
Do the mixing first and set it aside before you touch the hair. You want your hands free once you start sectioning.
The steps
1. Find the part. Wherever the hair naturally falls — don’t invent a new part for this. The money piece should sit where the hair actually lives day to day.
2. Section it out. Take a small amount of hair on each side of the part line, close to the hairline. Small. The most common mistake at home is taking far too much, and a thick block of bright color reads as a stripe rather than a highlight.
3. Open the shell. Separate the side tabs and lay it open.
4. Lay the hair across it. Gently stretch the sectioned hair across the open pallet of the shell, then pinch it in place with your thumb and forefinger. Get the shell as close to the scalp as it will comfortably go — that’s what makes the finished piece look like it grew there.
5. Paint. Apply the product with the brush. You’ll notice the hair sticks gently to the plastic once product is on it, which is genuinely helpful — it holds the section put while you work.
6. Snap it closed. The tabs click shut and the section stays exactly where you put it.
7. Wait. Time it per the manufacturer’s instructions and set an actual timer. Do not guess, and do not leave it “just a bit longer” because it doesn’t look bright enough yet — that’s how hair gets damaged.
8. Check, then rinse. Here’s the part I like for beginners: the shells are clear, so you can watch the color developing without opening anything up. You’re not peeling foil apart and disturbing the section every time you get nervous. When it’s ready, unsnap the tabs, pull the shell away from the face, shampoo and style.
A few things that separate a good result from an obvious one
Go finer than you think you should. You can always add a second, thinner piece next time. You cannot un-lighten.
Do both sides symmetrically — take the same amount on each side and start at the same point on the hairline. Standing back and eyeballing it before you paint takes ten seconds and saves a lot of regret.
And rinse your shells properly afterward. Warm water, a squirt of shampoo, let them soak, rinse, dry them on their side. They’re reusable dozens of times, so this isn’t a thing you buy once and throw away — which is rather the point.
If you want to try it, a Small 12-count case is plenty — a money piece only needs two shells, so one case lasts you a very long time. And if it goes well, you now have a standing arrangement with your friend and neither of you is paying salon prices for a fifteen-minute service.
Have you ever done your own money piece — or talked a friend into doing it for you? I’d love to hear how it went, honestly, good or bad.