
Large Shell Application:
Phase 1: Preparation and Placement
1
Weave the Highlight Section — Start by weaving out the section of hair you want to highlight using a tail comb. This can be done anywhere on the head, as the shells are versatile.
2
Orient the ColorShell — Identify the arrow on the ColorShell; this arrow should point toward the scalp. Position the open shell underneath the woven section of hair, right up to the scalp.
3
Secure the Hair Section — Hold the hair with your right hand and then transfer it under the finger of your left hand. This creates a firm, stable palette for color application.
Phase 2: Application and Management
4
Apply the Color Formula — Using your tint brush, apply the bleach or color formula to the hair resting inside the shell. You can bring the product all the way down to the edge for complete coverage.
5
Snap the Shell Shut — Flip any extra hair out of the hinge and snap the shell shut. This ensures the color stays contained and doesn’t bleed.
6
Create Wider Highlights — For wider stripes, take your weavings directly from the tracks of the previous weaving. Use the shell to pinch the hair in the middle and drop the back to extend the application for long hair.
7
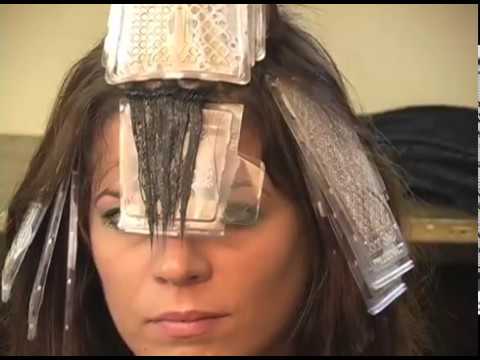
Monitor Color Development — The transparency of the shells allows you to watch the color develop without disturbing the section. Pay close attention to the color at the bottom edge of the shell for the most accurate view of the lift.
8
Removal and Finish — Once the desired color is reached, simply slip your finger between the tabs and snap the shells open to remove them. When rinsing, it can be helpful to leave the first shell in place to keep color away from the client’s face.
Small Shell Application:
Phase 1: Preparation
1
Analyze — Determine regrowth. 1 inch is perfect for Small Shells.
2
Select — Choose Small for highlights or Large for balayage/long hair.
3
Section — Part hair as you normally would for any highlight service.
Phase 2: Application
4
Weave — Use a tail comb to weave out a fine section right across the part.
5
Position — Slide the open shell underneath the weave, right up to the scalp.
6
Apply — Place product on the regrowth area resting inside the shell.
7
Snap — “Kick” extra hair out and snap the shell shut to lock in color.
Phase 3: Management
8
Pin — Secure the snapped shell up to clear your workspace.
9
Alternate — Pin “skip” sections out of the way before weaving again.
10
Repeat — Finish the head with no folding or tucking required.
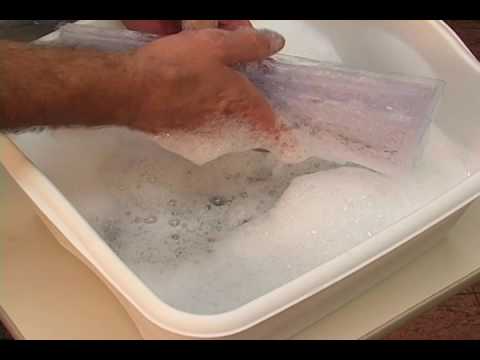
Shell Cleaning:
1
Prepare — Fill a basin with warm soapy water.
2
Soak — Place the used shells into the water and let them sit.
3
Swish — Move the shells back and forth in the soapy water to loosen any remaining product.
4
Rinse — Run the shells under clean water to remove all soap and residue.
5
Dry — Store the cleaned shells on their side to drip dry. They’ll be ready for your next client.